Pages

Friday, June 20, 2014

Bathroom Step Stool Makeover

I have been looking for a nice sturdy step stool for my son's bathroom for quite some time.  And just when I was ready to bite the bullet and order one off Amazon, I came across the exact same one at Goodwill for (drum roll please...) $3!!!  A little beat up, but nothing I couldn't handle. :)

Let's first start with my inspiration for this stool.
My son's entire bathroom was decorated around that cute little whale card, which I obviously found SO cute, I framed it.  From there, I found the perfect scalloped shower curtain at Target.  And then I put together a couple more images to frame and/or transfer onto canvas.
Now back to the plan for the step stool...

Since I planned on painting it white using General Finishes Snow White, I wanted to give my piece a quick coat of white spray paint as a primer.
I absolutely LOVE General Finishes Milk Paint because of it's amazing coverage, but I actually had to give this little guy 4 coats - it was totally worth it!  Next I used my new Silhoutte Cameo to cut out a scalloped stencil.
I poked out the cut pieces and taped it to the stool.


Since I have no patience, I used cardstock for my stencil instead of vinyl, so I ended up with a little bit of bleed through.  Nothing a little touch up paint couldn't fix though!
With the scallops done, I knew I wanted to add a few of those colorful "splashes".  I decided to do one on the very top and one on each side.  I used what I call the "pencil transfer method" to get the outline of the splash onto the stool so I could then paint it in.  You first start by covering the entire back of your design with pencil.
Then you tape it up and trace over the actual design.
This then transfers the pencil onto your piece.  Worked like a gem!

All I had to do now was fill it in...
Here it is in it's new home!
My son loves climbing up and having his teeth brushed and I love not having to chase him down - win win!

One last look at the before and after.
-Ashley


Sunday, June 15, 2014

Hudson's 2nd Birthday Party!

Last Saturday, we celebrated Hudson's 2nd birthday with a house full of family and friends!  We were blessed with the most beautiful day so most of the party was spent outdoors in the backyard.  Every time I saw Hudson running here or running there, he had giant smile on his face because he was having so much fun playing with his friends.  It was priceless. :)

A couple posts ago, I shared a little sneak peek of my plans for the party.  I'm excited to show you how everything turned out!

Our guests were greeted at the front door with a bouquet of balloons - my husband had a great idea to put "Right Field", "Center Field" and "Left Field" on each of our fence doors and front door, but unfortunately he came up with this great idea the day of the party.  Not a lot of time for execution. :)
 
Our guests then made their way through the living room to the....
CONCESSIONS!!
 
Here is Hudson, scoping out the food.
From the kitchen, our guests were able to find seating outside.
I LOVED how these centerpieces turned out!
On display were the two (that's right, I said two) cakes that my sister made for Hudson.  They were amazing!
That's it - a very  happy birthday for my little boy.

-Ashley


Thursday, May 22, 2014

Dining Buffet - Before And After

A few months ago, I was given the opportunity to try out a new line of paint.  However, I was waiting for the right piece to try it out on!  That took a little longer than expected.  But good things really do come to those who wait because I ended up landing the most beautiful dining buffet at the most beautiful price. :)
I knew I would be painting the body of the table light grey as well as upgrading the hardware.  But I wasn't quite sure what to do for the top of the table until I saw this photo from  Confessions Of A Serial Do-It-Yourselfer.  If you haven't checked out Christy's blog, do it!  She does some really fun things!
Source
Inspired by Christy, I knew I wanted to do a very dark stain on the top of the buffet as well as the small strip inbetween the two drawers.  So to work I went!

I started with three coats on the drawers and doors.
 And then got to work on the body.  Here is the first coat...
 And here she is with three coats!  Looking good!
The whole piece (except the top) then got a bit of distressing.  Here is a pic of the doors and drawers.
 
I prepped the already painted areas for the stain.  You can go two routes with this particular type of stain - 1) paint it on and wipe it off, repeat or 2) just paint it on, repeat.  I went with the latter and LOVED the results.
 
And here she is!!! 
I love the mix of original hardware with some new!  And since I decided to keep this piece (I just HAD to!!) I lined the drawers with teal paper to match my living room lamps.  Here she is in our real life, ha....

-Ashley

Tuesday, May 6, 2014

It's Party Time!

In just one month, my little boy will be celebrating his 2nd birthday!  He is into everything sports related, so naturally, a baseball themed party seemed fitting.  That was until he become obsessed with basketball...  Unfortunately, a baseball party is already in the works, soooooo a baseball party we shall have!

I thought it'd be fun to show you how the party planning is going!  First off, the invitation!
This was put together by Vens Paperie and I just love it.  The guy I worked with really helped me personalize this party package for Hudson.  You can find the entire collection here - I can't wait to decorate with all these items!

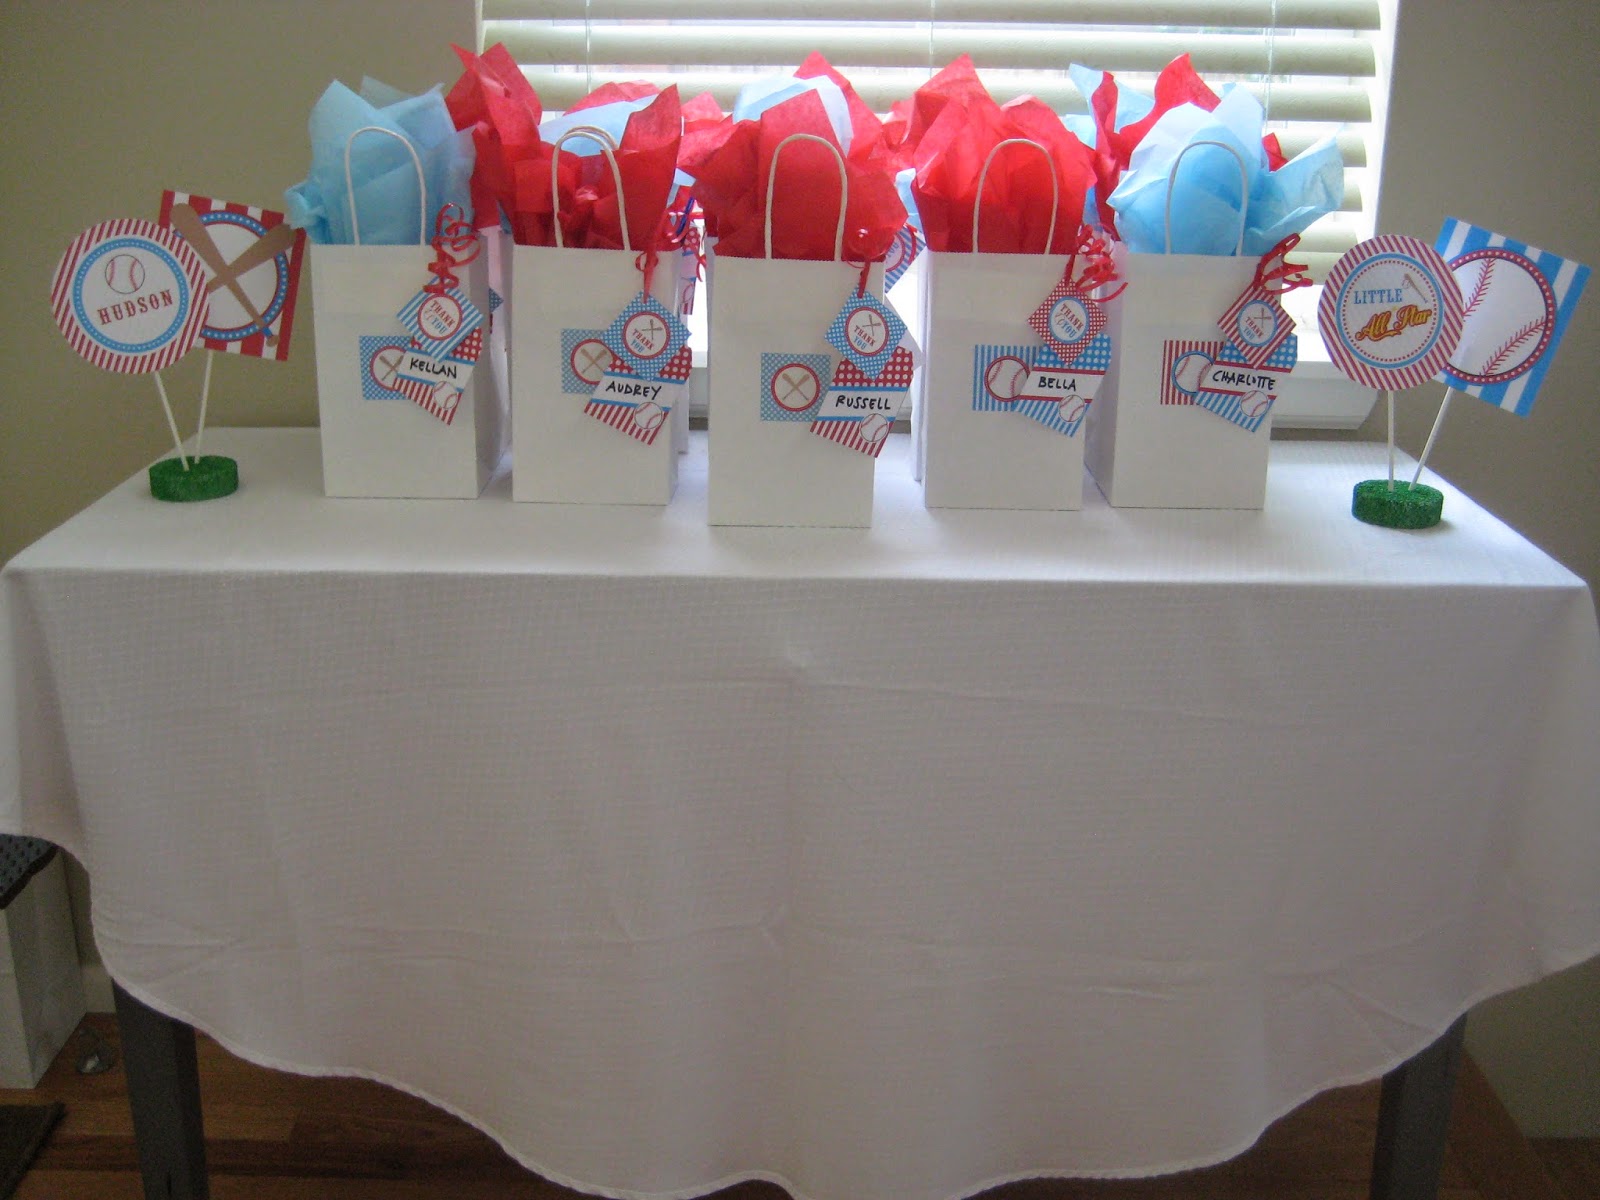
Following the color scheme, I found these tableclothes at Hobby Lobby.  I also found matching tissue paper to add to classic white party bags.
 
I plan on printing out pieces of the collection on sticker paper and using them on bottles, napkins, party bags, etc.  It is one of my favorite craft items to have on hand!  And don't forget to use your Hobby Lobby 40% off coupon on this guy. :)
During Easter I found fake grass.  You'll notice by the picture on the tag, it was meant for Easter eggs, but I thought these would make the perfect centerpieces for the party.  Just add a few weathered baseballs and I'm good to go!
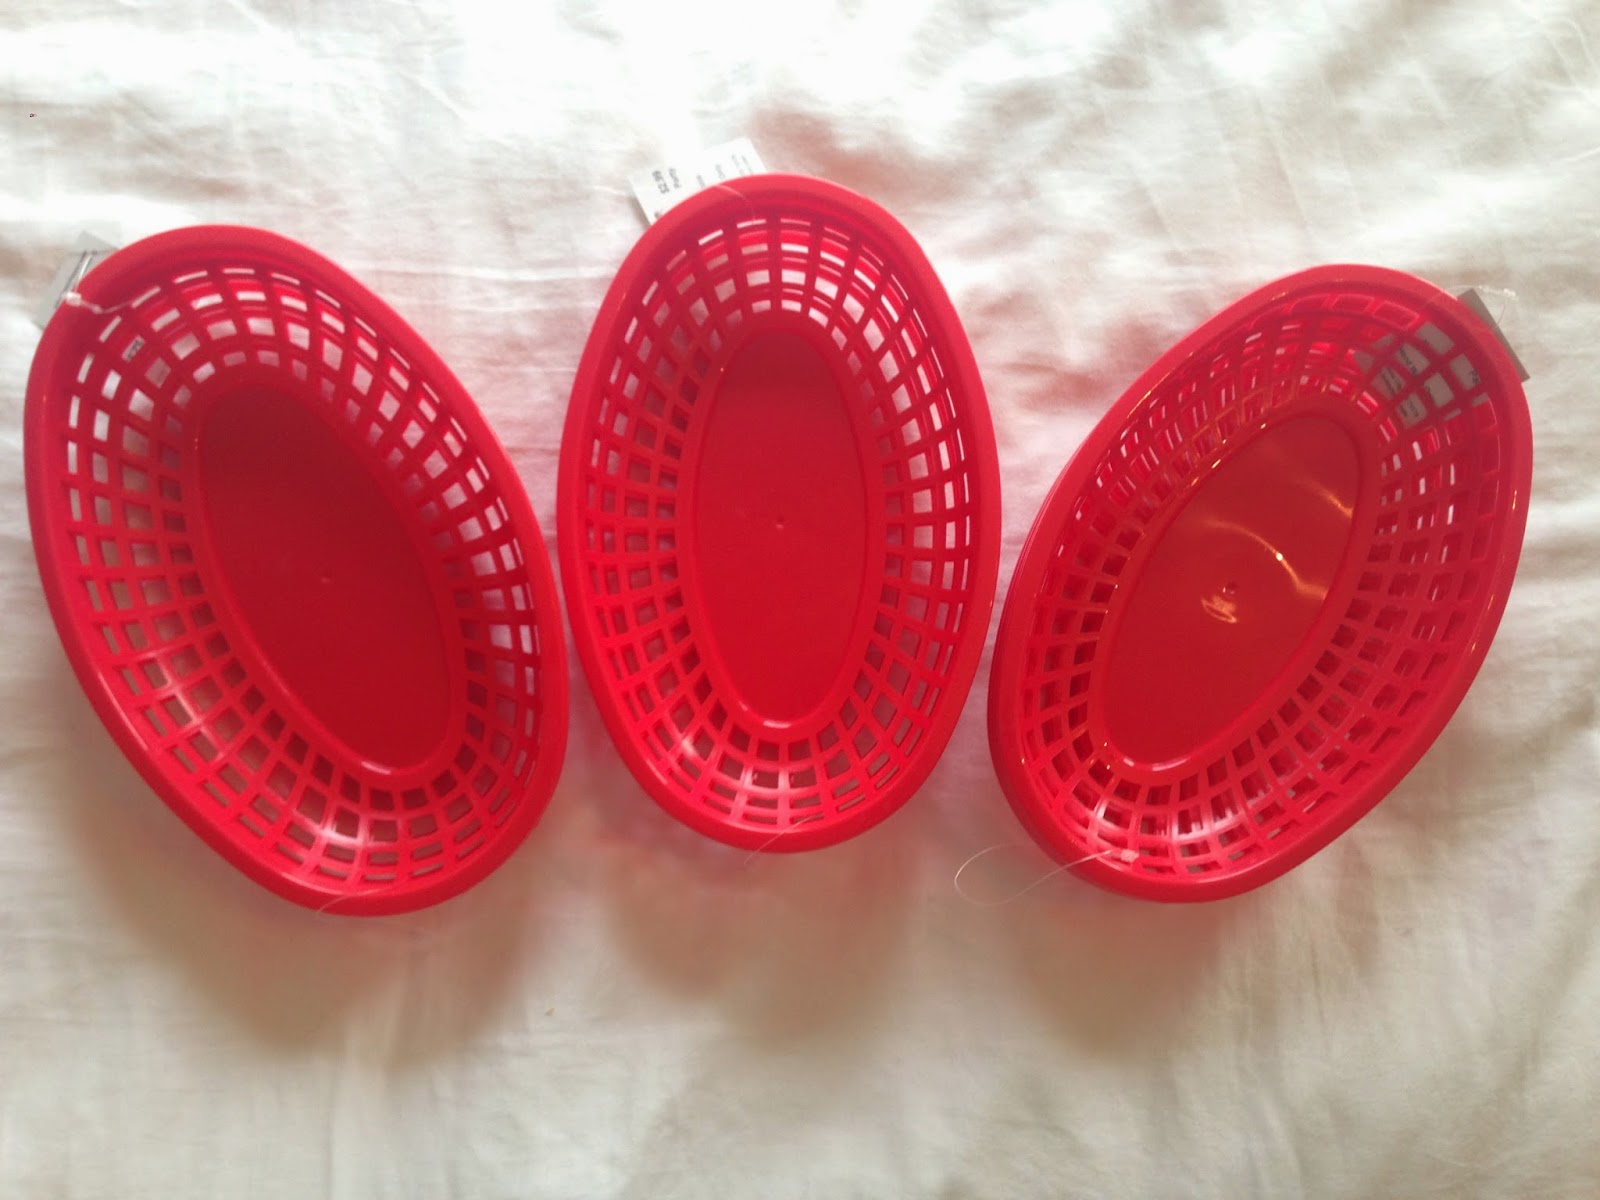
The next three items I'll credit Pinterest for the inspiration.  Burgers, Hot Dogs and Fries are on the menu, so what better way to serve them up than in burger baskets!
And check these out!  I was so happy to find these at Party City!
And finally, our little all-star will be celebrating in his own baseball tee.  I plan on adding a large "2" to the back.
There is still a lot to do to put the finishing touches on this big birthday bash, but I am so excited to celebrate such a special day with lots of family and friends!

-Ashley


Saturday, April 12, 2014

Honeymoon Keepsake Box

When we moved three years ago, I packed anything related to our wedding and honeymoon into a storage box that I swore I would sort through.  And I'm happy to report, I finally did it!

Right after our wedding, I found this box at Marshalls, which matched the colors of our wedding - pink and green.

After sorting through the storage box last night, I was able to fit everything "wedding" in here and nestled it in right next to my wedding dress and both pairs of wedding shoes in my closet.
For our honeymoon mementos, I really wanted something that I could display.  I found this wood box at Hobby Lobby that I thought would work perfectly for storing receipts, ticket stubs, maps and more.  The best thing was it was only $5 and that was before my 40% off coupon!
I wanted to give the box a rustic look, so I used my favorite color stain and applied one coat inside and out.
I then printed out "France" and "Italy" and used a craft knife to carefully cut out the letters to use as stencils.  This is where a Silhouette would come in quite handy!
Then I carefully sponged on black paint.
And removed the paper.
I repeated the same steps for "Italy".


Now this little guy holds all our special memories from our 17 day honeymoon through Paris, Capri, Positano and Rome.


-Ashley