I loooove farmhouse tables. In fact, one of my very first furniture projects was this beauty!
I scored her off Craigslist for $200 and my husband and I went to work. He sanded her down entirely and I stained. Like I said, it was my first project so it's not perfect, but I definitely learned a thing or two and I love her. AND she's the perfect table to handle a toddler. :)
When I saw this desk at an antique store, I had to have it and give it a little farmhouse update.
I started with three coats of General Finishes Snow White on the body and the drawers.
Then I did three coats of General Finishes Java Gel Stain for the top.
I loved the original hardware, so I didn't touch a thing there, but I did line the drawers with some really cute orange paper. And here she is!
It may have been a pretty straight forward makeover, but I think it really gave this table new life. It would look fantastic in any home either as a desk or even an entry table. The possibilities are endless!
-Ashley
Showing posts with label Rustic. Show all posts
Friday, July 18, 2014
Tuesday, July 15, 2014
Rustic Kitchen Sign
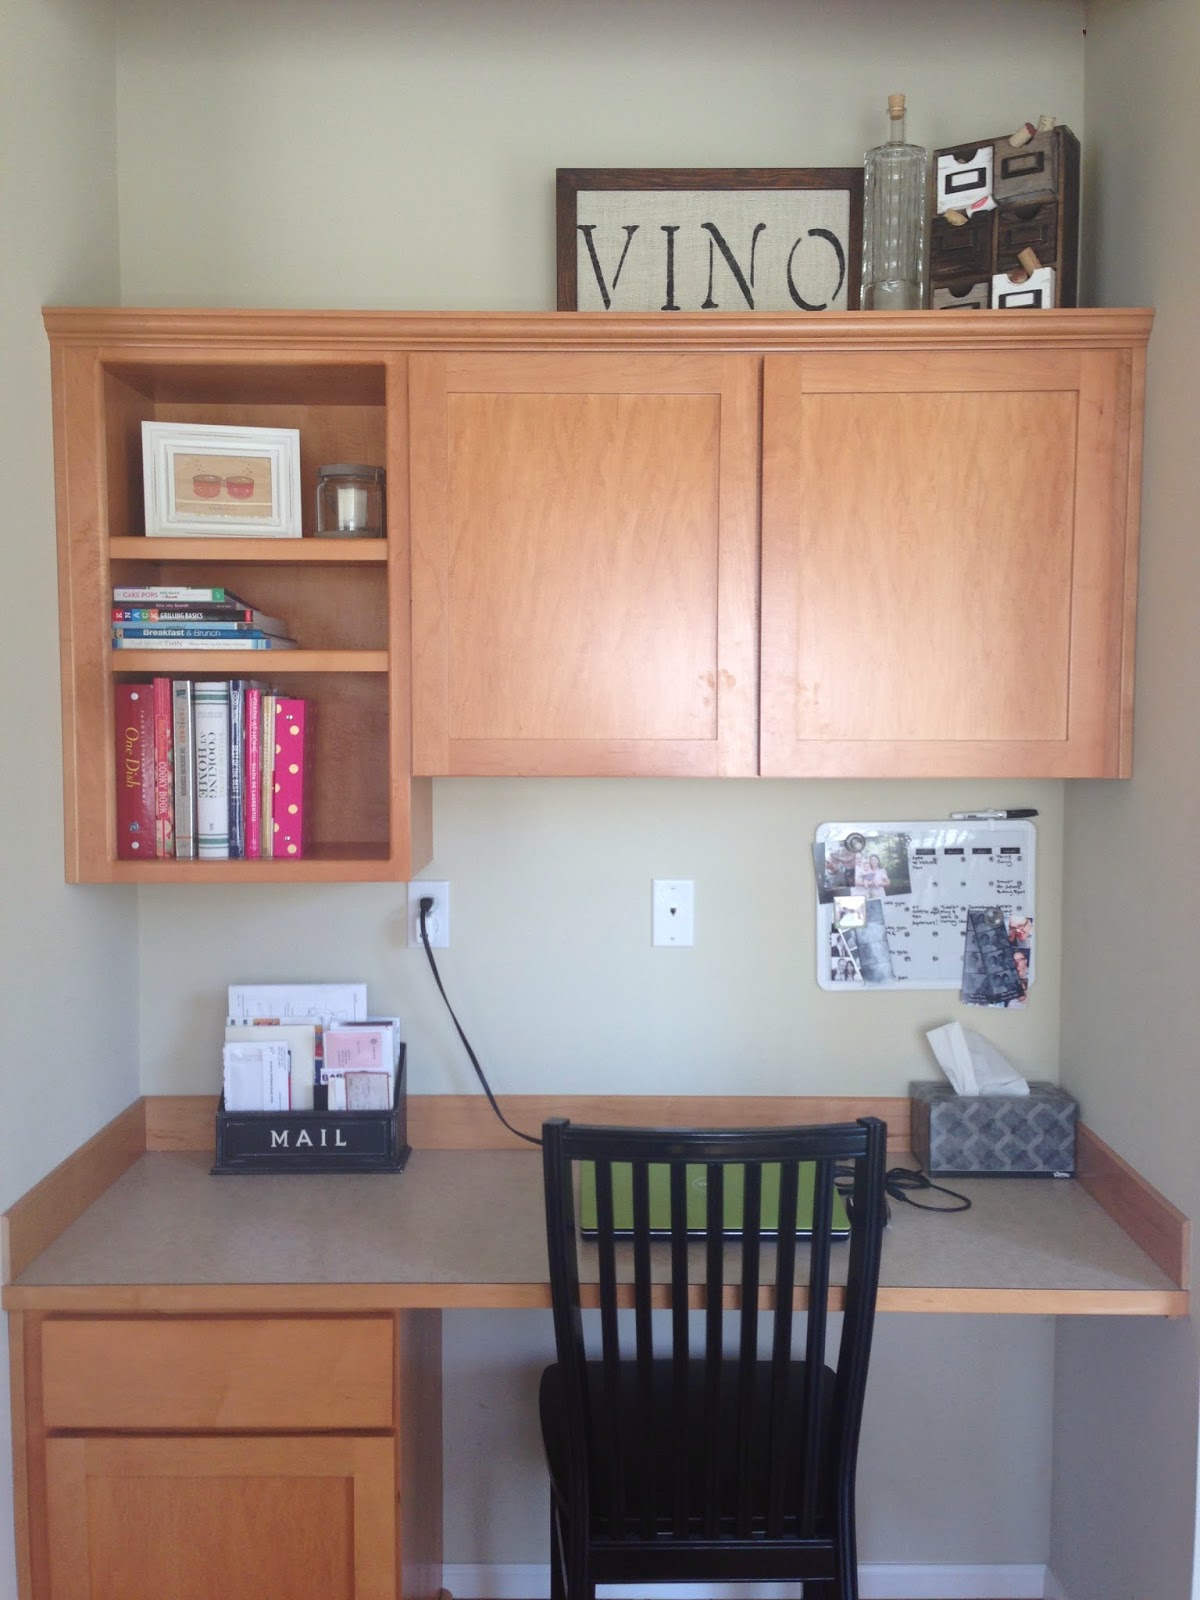
A month or so ago, I got the itch to redecorate the space above my kitchen cabinets. Years ago, I settled in on a rustic wine theme, which I still love, but I used to switch out the decor each season - "Lemons and Limes" in the Spring and Summer and "Apples and Cinnamon" in the Fall/Winter. These days, however, I'm really into simple, clean and timeless.
Today I wanted to share a sign that I made in about 15 minutes. And the best part about it is that it cost me $0! I started with some wood scraps and burlap that I had laying around the workshop.
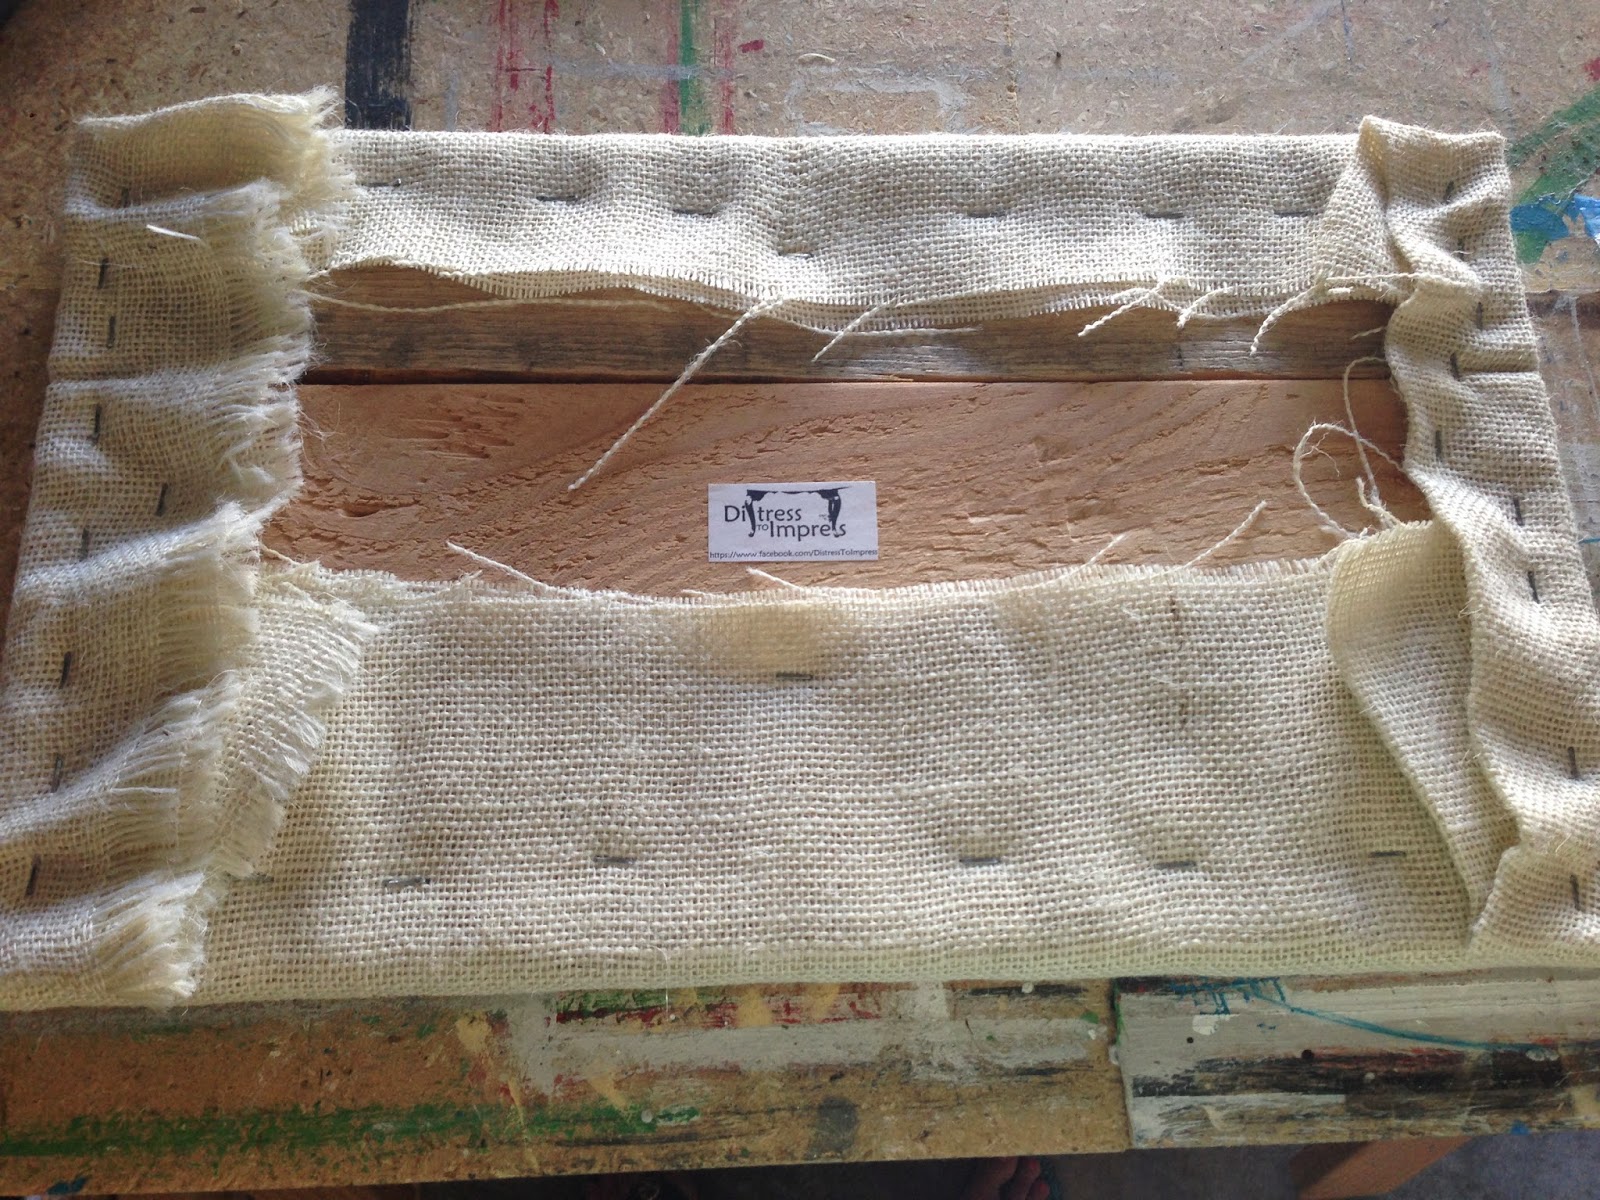
I wrapped the wood in burlap and used my staple gun to secure the burlap to the wood.
Then I lined up and secured the stencils. And finally used a sponge brush to apply the black paint.
And that was that!
I liked the sign as is, but really wanted to make it more rustic, so I of course called on my Dad to build me a frame. :)
He made the most beautiful frame, which I then stained my favorite color.
NOW we're talking! Don't you love it!?!
And the wine bottle I found at the thrift store for $2!
That's a wrap for the kitchen! :)
-Ashley
Today I wanted to share a sign that I made in about 15 minutes. And the best part about it is that it cost me $0! I started with some wood scraps and burlap that I had laying around the workshop.
I wrapped the wood in burlap and used my staple gun to secure the burlap to the wood.
Then I lined up and secured the stencils. And finally used a sponge brush to apply the black paint.
And that was that!
I liked the sign as is, but really wanted to make it more rustic, so I of course called on my Dad to build me a frame. :)
He made the most beautiful frame, which I then stained my favorite color.
NOW we're talking! Don't you love it!?!
That's a wrap for the kitchen! :)
-Ashley
Wednesday, March 12, 2014
Spring Is In The Air
And therefore Easter is right around the corner! In all actuality however, Easter is quite late this year - April 20th! That's OK though because it gives me more time to decorate and even more time to enjoy those decorations! Win, win!
I found the cutest stencil at (where else?!) Hobby Lobby - a bunny silhouette. I snatched it up immediately because I knew it would come in handy not only for Easter decor, but for Spring decor in general.
Wanting to go a little more rustic with the "Easter Collection", I searched through my never-ending collection of scrap wood and found the perfect sheet of pine. I also came across some leftover letters that just happen to spell "WELCOME". I can take a hint - a door sign I must make! :)
To get started, I used a small foam brush to apply my most favorite color stain.
While that dried, I painted the orange letters yellow.
I let the stain dry overnight before taping down the bunny stencil and painting it white.
Next I used blue tape to create a straight line that would serve as a guide as I glued down each letter.
Last but not least was to drill two holes for the twine. I enlisted my hubby for this part. :)
And there you have it! A door sign that will last me through the Spring and Easter season.
-Ashley
I found the cutest stencil at (where else?!) Hobby Lobby - a bunny silhouette. I snatched it up immediately because I knew it would come in handy not only for Easter decor, but for Spring decor in general.
Wanting to go a little more rustic with the "Easter Collection", I searched through my never-ending collection of scrap wood and found the perfect sheet of pine. I also came across some leftover letters that just happen to spell "WELCOME". I can take a hint - a door sign I must make! :)
To get started, I used a small foam brush to apply my most favorite color stain.
While that dried, I painted the orange letters yellow.
I let the stain dry overnight before taping down the bunny stencil and painting it white.
Next I used blue tape to create a straight line that would serve as a guide as I glued down each letter.
Last but not least was to drill two holes for the twine. I enlisted my hubby for this part. :)
And there you have it! A door sign that will last me through the Spring and Easter season.
-Ashley
Subscribe to:
Posts (Atom)