Upstairs we have a big open space that we like to call the loft. When we had Hudson, we gated off the majority of that area to give him a safe place to play. And as Hudson grew and began coloring, drawing and painting, I wanted a place to display his artwork. A quick search for inspiration on Pinterest led me to this post on Shanty2Chic. I fell in love with the fabric and knew it'd be perfect for this project. Here was my first crack at it...
However, I was never exactly happy with it. So after sitting on it for months and months, I spent the labor day weekend shopping for a couple more frames and some spray paint to give that wall a little more color! Before we get to the final reveal, let's walk through how I created each frame. Here are the materials you'll need.
I went to Lowe's and bought a large sheet of plywood which I had cut down into 4 8x10's and 2 11x14's - one board for each of my frames. I then cut the fabric to size, leaving about an extra inch all around. Next up, a little staple gun action.
I then used my hot glue gun to secure each of the boards to the frame. And finally, I finished it off with a large silver clip.
I repeated the same process for each of the frames. The only difference was four of them received a quick paint job. The coverage and finish of the Vaslpar spray paint I got at Lowe's was fantastic!
With all six of my frames ready to hang, I got out the blue tape. I made a rough tape outline of each of the frames and designed my collage. The blue tape also helps with knowing exactly where to put each nail.
And there you have it - complete with Hudson's latest masterpiece. :)
I LOVE how colorful the wall is now! And it ties in perfectly to the colors already in the loft. Hudson loves pointing out his artwork, saying "I made that!!". Seeing him so proud makes me one happy mama.
-Ashley
Tuesday, September 2, 2014
Friday, August 29, 2014
DIY Valence Makeover
Hi everyone! I took a small hiatus this last month and now I'm BACK! And today I wanted to share with you an item I've had on my home checklist for over three years!! My living room valences.
The previous owner had professionally installed three valences over each of the windows in the living room. Unfortunately, from the moment we signed the papers, I knew the fabric would have to be updated. And so after three years, I finally got around to taking care of business. :) At first I thought I'd have them redone professionally, but then I got the crazy idea to do it myself!! And since my hubby had a business trip on the horizon (which is when I get my best work done) I had the perfect opportunity to give this one a go.
After a quick trip to Joann's, I found the perfect HGTV fabric and got to work. Here is what I started with...
I carefully wrapped the new fabric right over the old and started to pin it in place.
When I got to the curved part, I started cutting small strips that would allow me to pull the fabric tight against the valence.
Once everything was pinned in placed, I did a quick check to see that the fabric was smooth in front. Then I went to town with my staple gun.
And that was it!!! Here is the before and after!
Soooo much better! Here are a few more pics...
I think the new fabric really ties the entire living room together. And the entire project cost me roughly $60 - can't beat that!
-Ashley
(Photo taken from Hudson's Baptism)
The previous owner had professionally installed three valences over each of the windows in the living room. Unfortunately, from the moment we signed the papers, I knew the fabric would have to be updated. And so after three years, I finally got around to taking care of business. :) At first I thought I'd have them redone professionally, but then I got the crazy idea to do it myself!! And since my hubby had a business trip on the horizon (which is when I get my best work done) I had the perfect opportunity to give this one a go.
After a quick trip to Joann's, I found the perfect HGTV fabric and got to work. Here is what I started with...
I carefully wrapped the new fabric right over the old and started to pin it in place.
When I got to the curved part, I started cutting small strips that would allow me to pull the fabric tight against the valence.
Once everything was pinned in placed, I did a quick check to see that the fabric was smooth in front. Then I went to town with my staple gun.
And that was it!!! Here is the before and after!
Soooo much better! Here are a few more pics...
(Please excuse the lighting - it's awful!!)
-Ashley
Wednesday, July 30, 2014
Gender Reveal Party!
I've always wanted to put together a "Gender Reveal Party", so when my sister told me that she was going to order a cake and invite everyone over to reveal the gender of her next baby, I jumped at the chance to add a little more flair to the party. I only had a few days to plan it, but I think it came together really well!
Here is a shot of the display as guests entered the house.
Using good ol' sticker paper, I decorated plastic cups and paired them with blue and pink straws. My sister prepared PINK lemonade and ice tea - served in a BLUE pitcher, of course! :)
I wish I had snagged a picture of the actual cake, but amongst all the excitement and anticipation, it totally slipped my mind. So what are my sister and her husband expecting?? A baby BOY!!! Congrats to them both!
-Ashley
Here is a shot of the display as guests entered the house.
Guests were invited to "cast their vote" using blue or pink paint chips.
And since coming up with baby names can be difficult, guests were also invited to submit their baby name suggestions.Using good ol' sticker paper, I decorated plastic cups and paired them with blue and pink straws. My sister prepared PINK lemonade and ice tea - served in a BLUE pitcher, of course! :)
I wish I had snagged a picture of the actual cake, but amongst all the excitement and anticipation, it totally slipped my mind. So what are my sister and her husband expecting?? A baby BOY!!! Congrats to them both!
-Ashley
Friday, July 18, 2014
Desk Makeover
I loooove farmhouse tables. In fact, one of my very first furniture projects was this beauty!
I scored her off Craigslist for $200 and my husband and I went to work. He sanded her down entirely and I stained. Like I said, it was my first project so it's not perfect, but I definitely learned a thing or two and I love her. AND she's the perfect table to handle a toddler. :)
When I saw this desk at an antique store, I had to have it and give it a little farmhouse update.
I started with three coats of General Finishes Snow White on the body and the drawers.
Then I did three coats of General Finishes Java Gel Stain for the top.
I loved the original hardware, so I didn't touch a thing there, but I did line the drawers with some really cute orange paper. And here she is!
It may have been a pretty straight forward makeover, but I think it really gave this table new life. It would look fantastic in any home either as a desk or even an entry table. The possibilities are endless!
-Ashley
I scored her off Craigslist for $200 and my husband and I went to work. He sanded her down entirely and I stained. Like I said, it was my first project so it's not perfect, but I definitely learned a thing or two and I love her. AND she's the perfect table to handle a toddler. :)
When I saw this desk at an antique store, I had to have it and give it a little farmhouse update.
I started with three coats of General Finishes Snow White on the body and the drawers.
Then I did three coats of General Finishes Java Gel Stain for the top.
I loved the original hardware, so I didn't touch a thing there, but I did line the drawers with some really cute orange paper. And here she is!
It may have been a pretty straight forward makeover, but I think it really gave this table new life. It would look fantastic in any home either as a desk or even an entry table. The possibilities are endless!
-Ashley
Tuesday, July 15, 2014
Rustic Kitchen Sign
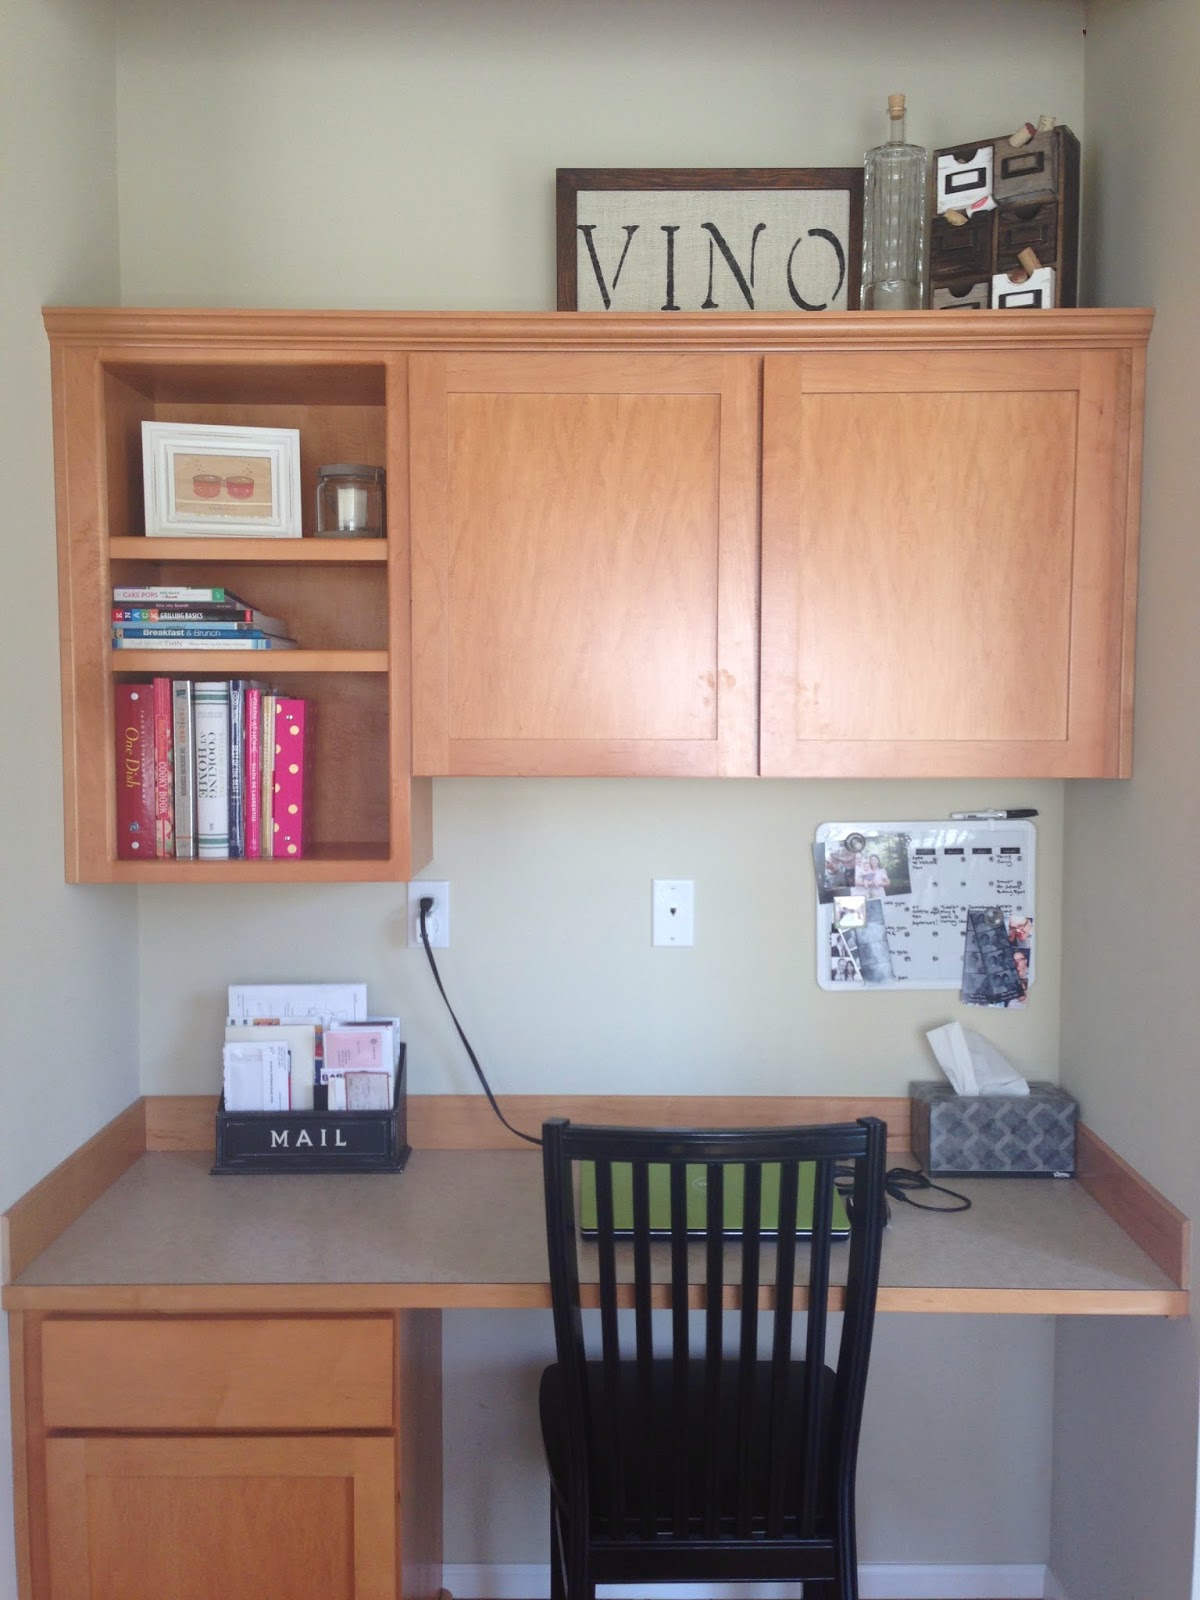
A month or so ago, I got the itch to redecorate the space above my kitchen cabinets. Years ago, I settled in on a rustic wine theme, which I still love, but I used to switch out the decor each season - "Lemons and Limes" in the Spring and Summer and "Apples and Cinnamon" in the Fall/Winter. These days, however, I'm really into simple, clean and timeless.
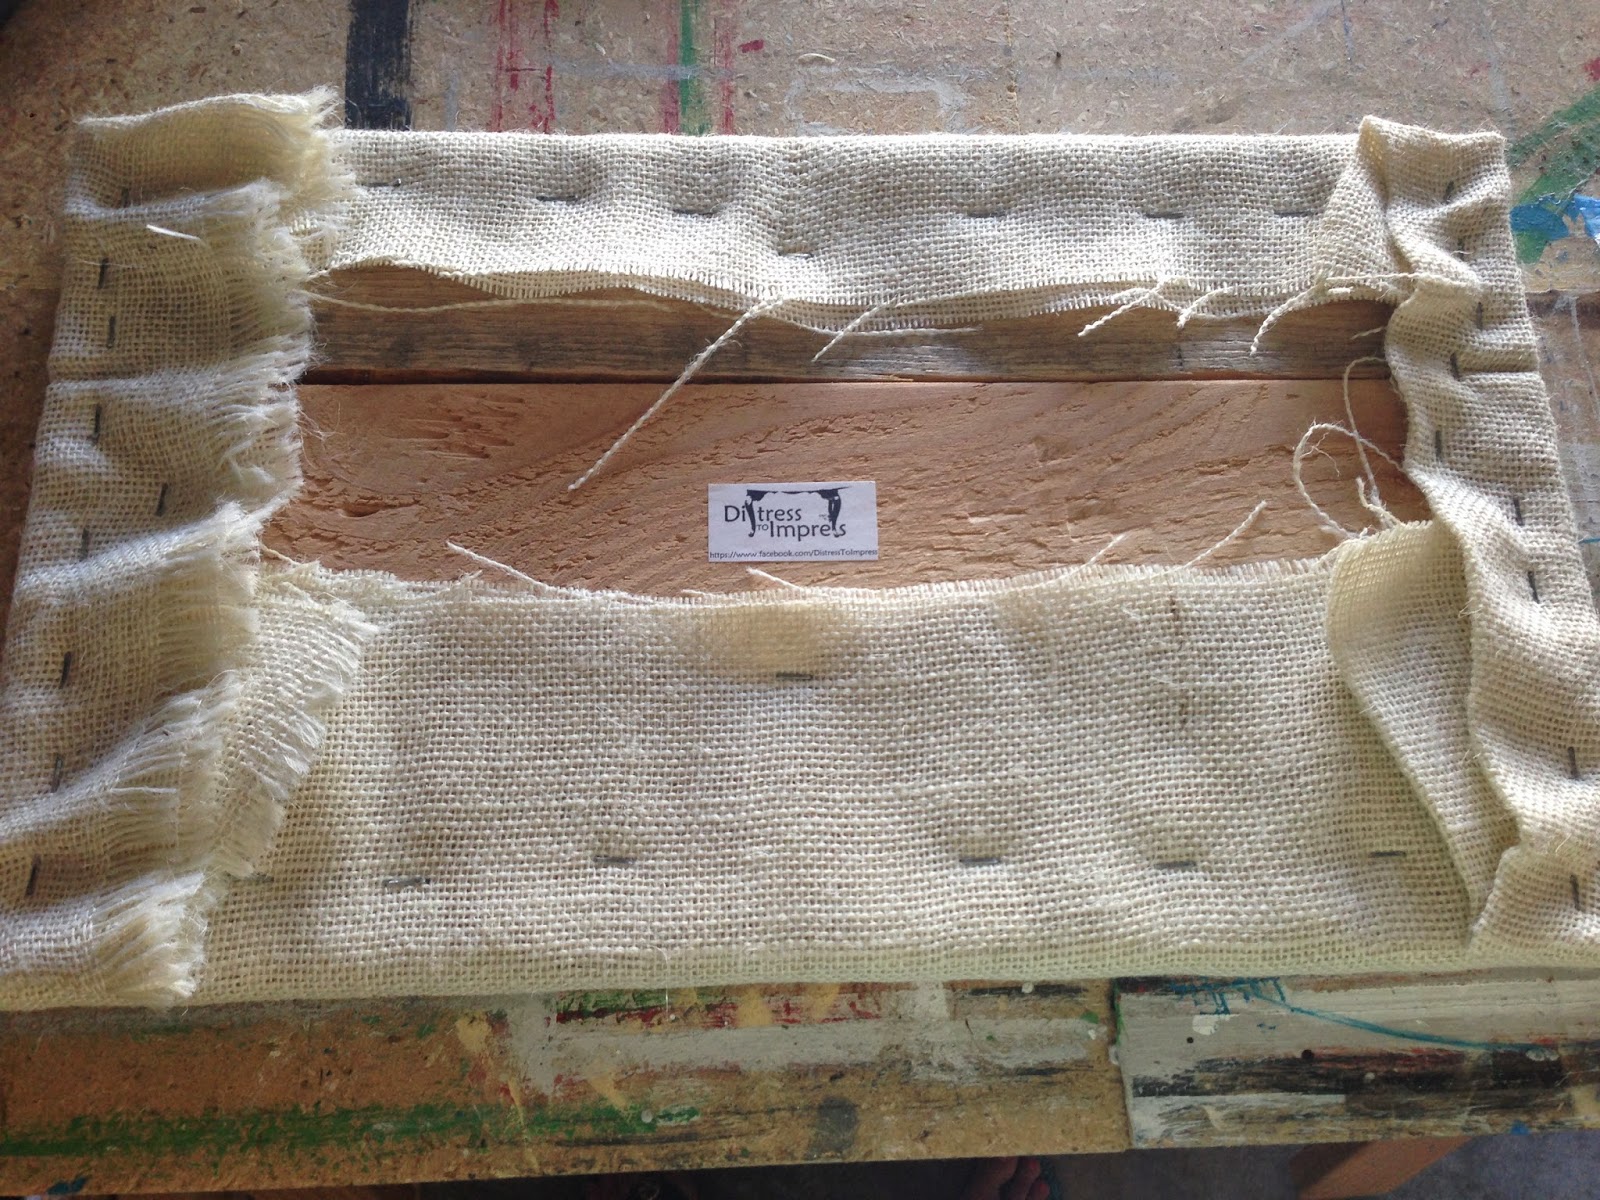
Today I wanted to share a sign that I made in about 15 minutes. And the best part about it is that it cost me $0! I started with some wood scraps and burlap that I had laying around the workshop.
I wrapped the wood in burlap and used my staple gun to secure the burlap to the wood.
Then I lined up and secured the stencils. And finally used a sponge brush to apply the black paint.
And that was that!
I liked the sign as is, but really wanted to make it more rustic, so I of course called on my Dad to build me a frame. :)
He made the most beautiful frame, which I then stained my favorite color.
NOW we're talking! Don't you love it!?!
And the wine bottle I found at the thrift store for $2!
That's a wrap for the kitchen! :)
-Ashley
Today I wanted to share a sign that I made in about 15 minutes. And the best part about it is that it cost me $0! I started with some wood scraps and burlap that I had laying around the workshop.
I wrapped the wood in burlap and used my staple gun to secure the burlap to the wood.
Then I lined up and secured the stencils. And finally used a sponge brush to apply the black paint.
And that was that!
I liked the sign as is, but really wanted to make it more rustic, so I of course called on my Dad to build me a frame. :)
He made the most beautiful frame, which I then stained my favorite color.
NOW we're talking! Don't you love it!?!
That's a wrap for the kitchen! :)
-Ashley
Saturday, June 28, 2014
End Tables - Before And After
I was given the opportunity to paint these gorgeous end tables when my husband's grandmother downsized her living space.
The tables were in really good condition, so very little prep was needed. In fact, only two minor gouges needed to be filled with wood putty.
I bought General Finishes Corinth Blue specifically for my son's step stool, but had a secret plan to use it on these tables, deepened with dark wax and topped with gold accents - a combo I've been wanting to try for a VERY long time!
After taping the hardware on the feet of these tables, I got to work.
Look at the difference in coverage from one coat to two coats - loving the color!
It took three coats to get the finish I wanted. Wanting to deepen the color, I gave each table two coats of dark brown wax. And finally, I gave the hardware a quick coat using Krylon's Gold Leaf spray paint.
I removed the tape and put all the pieces back together and absolutely loved the result!
Going into this project, I wasn't 100% sure that we would be keeping these tables, although we had hoped too keep them in the family. But the moment I put them in our living room, they didn't move. :) I have to update a few pieces of my old decor, like the lamps, but absolutely love the pop of color against the grey.
And as usual with Home Goods, I was able to find the perfect pillow and blanket storage solution to match the tables.
-Ashley
The tables were in really good condition, so very little prep was needed. In fact, only two minor gouges needed to be filled with wood putty.
I bought General Finishes Corinth Blue specifically for my son's step stool, but had a secret plan to use it on these tables, deepened with dark wax and topped with gold accents - a combo I've been wanting to try for a VERY long time!
After taping the hardware on the feet of these tables, I got to work.
Look at the difference in coverage from one coat to two coats - loving the color!
It took three coats to get the finish I wanted. Wanting to deepen the color, I gave each table two coats of dark brown wax. And finally, I gave the hardware a quick coat using Krylon's Gold Leaf spray paint.
I removed the tape and put all the pieces back together and absolutely loved the result!
Going into this project, I wasn't 100% sure that we would be keeping these tables, although we had hoped too keep them in the family. But the moment I put them in our living room, they didn't move. :) I have to update a few pieces of my old decor, like the lamps, but absolutely love the pop of color against the grey.
And as usual with Home Goods, I was able to find the perfect pillow and blanket storage solution to match the tables.
-Ashley
Subscribe to:
Posts (Atom)