Pages

Thursday, May 22, 2014

Dining Buffet - Before And After

A few months ago, I was given the opportunity to try out a new line of paint.  However, I was waiting for the right piece to try it out on!  That took a little longer than expected.  But good things really do come to those who wait because I ended up landing the most beautiful dining buffet at the most beautiful price. :)
I knew I would be painting the body of the table light grey as well as upgrading the hardware.  But I wasn't quite sure what to do for the top of the table until I saw this photo from  Confessions Of A Serial Do-It-Yourselfer.  If you haven't checked out Christy's blog, do it!  She does some really fun things!
Source
Inspired by Christy, I knew I wanted to do a very dark stain on the top of the buffet as well as the small strip inbetween the two drawers.  So to work I went!

I started with three coats on the drawers and doors.
 And then got to work on the body.  Here is the first coat...
 And here she is with three coats!  Looking good!
The whole piece (except the top) then got a bit of distressing.  Here is a pic of the doors and drawers.
 
I prepped the already painted areas for the stain.  You can go two routes with this particular type of stain - 1) paint it on and wipe it off, repeat or 2) just paint it on, repeat.  I went with the latter and LOVED the results.
 
And here she is!!! 
I love the mix of original hardware with some new!  And since I decided to keep this piece (I just HAD to!!) I lined the drawers with teal paper to match my living room lamps.  Here she is in our real life, ha....

-Ashley

Tuesday, May 6, 2014

It's Party Time!

In just one month, my little boy will be celebrating his 2nd birthday!  He is into everything sports related, so naturally, a baseball themed party seemed fitting.  That was until he become obsessed with basketball...  Unfortunately, a baseball party is already in the works, soooooo a baseball party we shall have!

I thought it'd be fun to show you how the party planning is going!  First off, the invitation!
This was put together by Vens Paperie and I just love it.  The guy I worked with really helped me personalize this party package for Hudson.  You can find the entire collection here - I can't wait to decorate with all these items!

Following the color scheme, I found these tableclothes at Hobby Lobby.  I also found matching tissue paper to add to classic white party bags.
 
I plan on printing out pieces of the collection on sticker paper and using them on bottles, napkins, party bags, etc.  It is one of my favorite craft items to have on hand!  And don't forget to use your Hobby Lobby 40% off coupon on this guy. :)
During Easter I found fake grass.  You'll notice by the picture on the tag, it was meant for Easter eggs, but I thought these would make the perfect centerpieces for the party.  Just add a few weathered baseballs and I'm good to go!
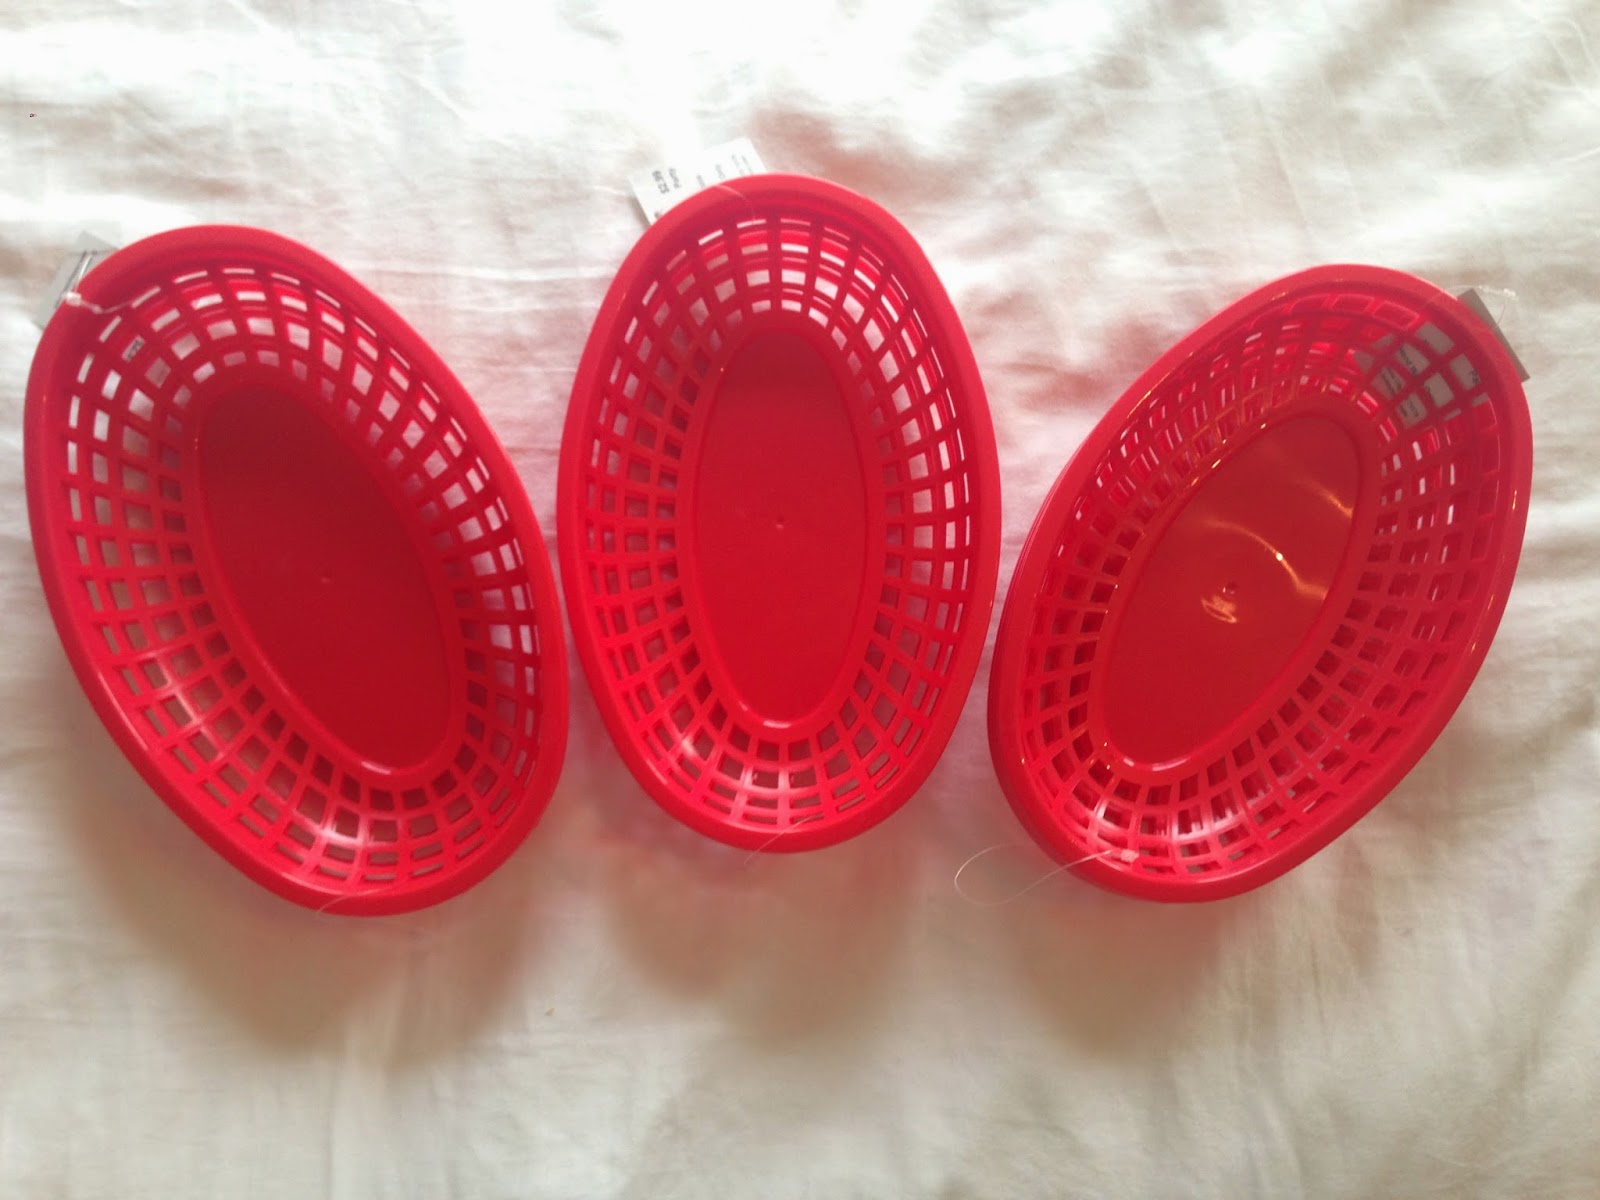
The next three items I'll credit Pinterest for the inspiration.  Burgers, Hot Dogs and Fries are on the menu, so what better way to serve them up than in burger baskets!
And check these out!  I was so happy to find these at Party City!
And finally, our little all-star will be celebrating in his own baseball tee.  I plan on adding a large "2" to the back.
There is still a lot to do to put the finishing touches on this big birthday bash, but I am so excited to celebrate such a special day with lots of family and friends!

-Ashley


Saturday, April 12, 2014

Honeymoon Keepsake Box

When we moved three years ago, I packed anything related to our wedding and honeymoon into a storage box that I swore I would sort through.  And I'm happy to report, I finally did it!

Right after our wedding, I found this box at Marshalls, which matched the colors of our wedding - pink and green.

After sorting through the storage box last night, I was able to fit everything "wedding" in here and nestled it in right next to my wedding dress and both pairs of wedding shoes in my closet.
For our honeymoon mementos, I really wanted something that I could display.  I found this wood box at Hobby Lobby that I thought would work perfectly for storing receipts, ticket stubs, maps and more.  The best thing was it was only $5 and that was before my 40% off coupon!
I wanted to give the box a rustic look, so I used my favorite color stain and applied one coat inside and out.
I then printed out "France" and "Italy" and used a craft knife to carefully cut out the letters to use as stencils.  This is where a Silhouette would come in quite handy!
Then I carefully sponged on black paint.
And removed the paper.
I repeated the same steps for "Italy".


Now this little guy holds all our special memories from our 17 day honeymoon through Paris, Capri, Positano and Rome.


-Ashley


Saturday, March 29, 2014

Laundry Room Sign

One of the items I found while reorganizing the loft closet was the cabinet door to this IKEA nightstand.

I removed it last year in order to store blankets in the loft TV room.  I was positive I could do something with the door, so I decided to hang on to it.  And while reorganizing my laundry room this week, I decided to use it to create a laundry room sign!

It was more of a yellow-white, so first up was a couple coats of Maison White.

Then I spent some time putting together the design.  I printed the design out on decal paper as a mirror image and followed the instructions to transfer the image onto the cabinet door.


While I let that set overnight, I used a laser level to mark where I needed to add the nails.  This was my first time using a laser level and I honestly don't know how I've hung anything without one.  It was awesome!

And here it is!  I love how it looks like a laundry chute door!
I'm hoping to add white wood shelves above the washer and dryer to help jazz it up even more!  Doing laundry will surely be a little more enjoyable now! :)

-Ashley


Wednesday, March 19, 2014

Loft Closet Makeover

I bet you thought I would forget to take a before pic, huh?  Well, you are half right.  I started emptying the closet before I caught myself, so here is a pic of all that I was storing...

...inside my tiny loft closet.

With everything out of the closet, the first thing I did was purge - such a good feeling!  And the next was to purchase more shelving.  I needed a system that would allow me to easily adjust my shelves up or down depending on what I needed to store and ClosetMaid made just the thing.  I drove down to The Home Depot to pick up 3 shelves that were 16" deep.  I believe standard is 12", so I was very excited about the extra room.  And although a bit pricey, this shelving system was worth every penny!

Unfortunately, I didn't take any "in progress" photos, but here are the afters!
I love how clean the shelves look by using these white baskets from Target.  And those little ones I actually scored from Big Lots!  And if you haven't invested in a label maker, do so!!  It makes it so easy for anyone to find what they are looking for, including my husband. :)
You might notice that some of the baskets are empty.  That's the beauty of this makeover - I have even more room than I need at this point.  Whenever you reassess your storage solutions, make sure you take into account future growth!

And you might have also noticed that I stored my seasonal pillows on the top shelf.  I recommend doing this with anything that you rarely use.  Save the stuff you use often for the lower shelves where you can easily grab and go!

And finally, for my beach towels and yoga towels, I found this cute basket at Marshalls.  Next to that are my seasonal hand towels tucked away in a small white basket.
Happy organizing!!
-Ashley

Wednesday, March 12, 2014

Spring Is In The Air

And therefore Easter is right around the corner!  In all actuality however, Easter is quite late this year - April 20th!  That's OK though because it gives me more time to decorate and even more time to enjoy those decorations!  Win, win!

I found the cutest stencil at (where else?!) Hobby Lobby - a bunny silhouette.  I snatched it up immediately because I knew it would come in handy not only for Easter decor, but for Spring decor in general.

Wanting to go a little more rustic with the "Easter Collection", I searched through my never-ending collection of scrap wood and found the perfect sheet of pine.  I also came across some leftover letters that just happen to spell "WELCOME".  I can take a hint - a door sign I must make! :)

To get started, I used a small foam brush to apply my most favorite color stain.


While that dried, I painted the orange letters yellow.

I let the stain dry overnight before taping down the bunny stencil and painting it white.

Next I used blue tape to create a straight line that would serve as a guide as I glued down each letter.
Last but not least was to drill two holes for the twine.  I enlisted my hubby for this part.  :)
And there you have it!  A door sign that will last me through the Spring and Easter season.

-Ashley